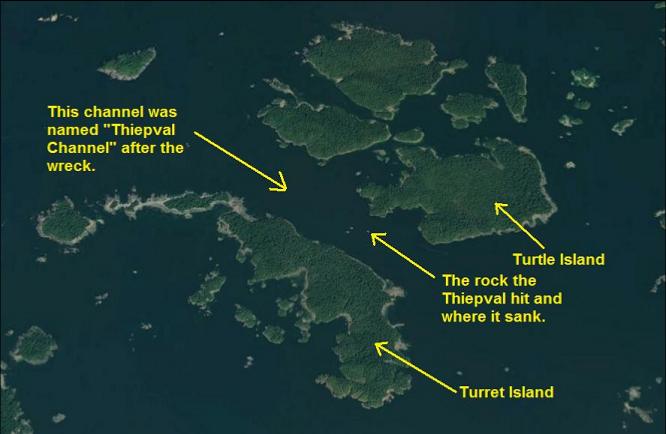
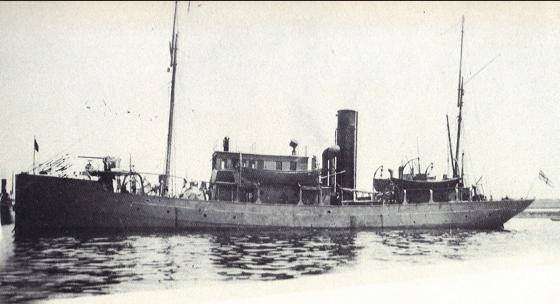
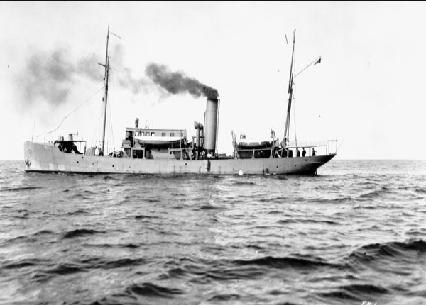
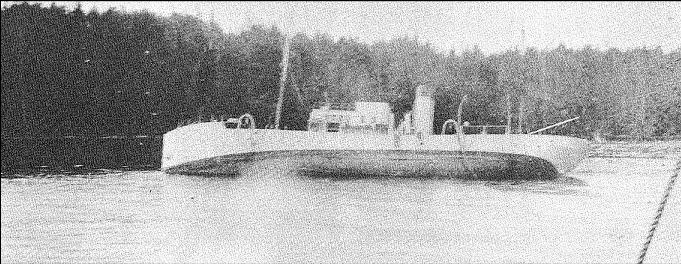
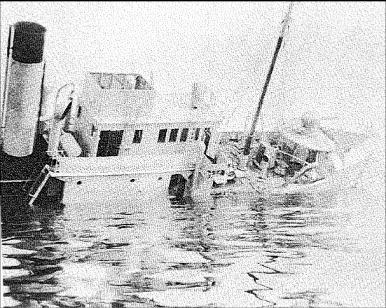
The Thiepval was a 140'-long-or-so Battle Class trawler built in 1917 for the Canadian Navy. These armed trawlers were named after battles that Canadians had recently fought. Thiepval was a village in France that was the site of a 1916 battle. It was pattered after a North Sea trawler to be able to handle the conditions in Canada's North Atlantic. It was armed with a 12-pound gun which was considered to be the smallest gun capable of taking out a U-boat. During the remainder of WW1, the Thiepval escorted ships and patrolled against German submarines. After the war, it steamed through the Panama Canal to Canada's West coast, where it acted as a fisheries patrol vessel. It also chased rum runners and carried out regular life-saving patrols. It was re-commissioned into the navy in 1923 and in 1924 carried out what was probably it's most noteworthy mission. It was tasked with supporting a British round-the-world flight attempt. It was to provide fuel and supplies to the aircraft during it's North Pacific leg of the flight. During this mission, the Thiepval became the first Canadian Naval vessel to visit Russia and Japan. It met up with the plane as planned in Petropavlovsk and delivered the fuel and supplies. Unfortunately, the plane crash-landed in the Bering Strait and the Thiepval steamed to the rescue, salvaging the wrecked plane and transporting the crew to Vancouver. The Thiepval went back to it's fisheries duties and during a life-saving patrol on Feb. 27,1930, ran into an uncharted rock in Barkley Sound. It sank the next day.
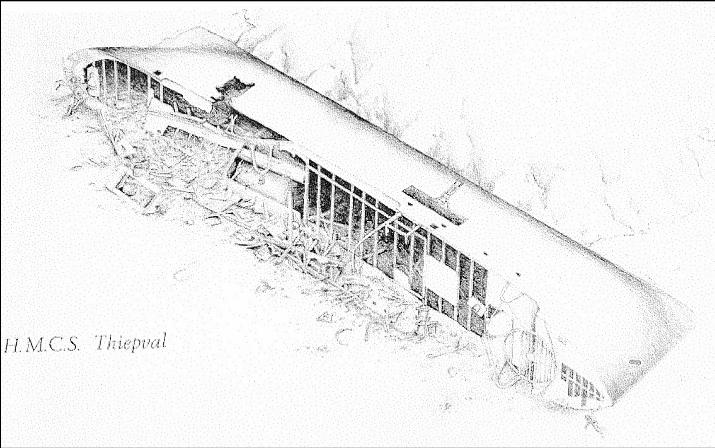
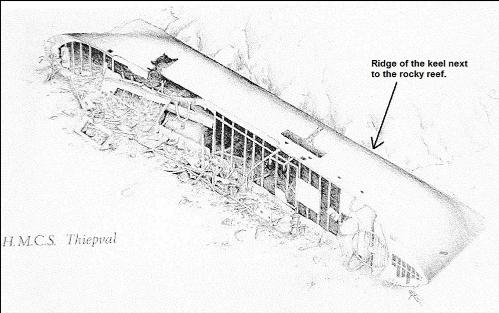
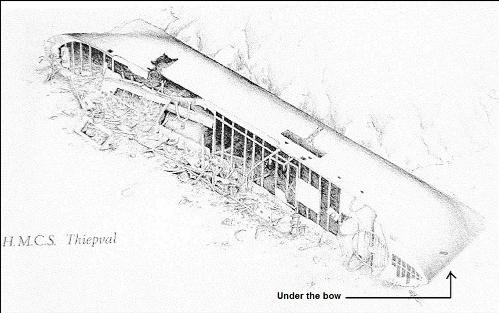
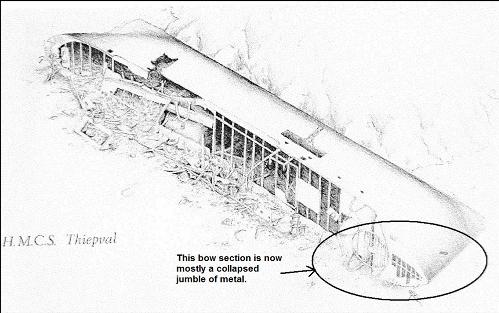
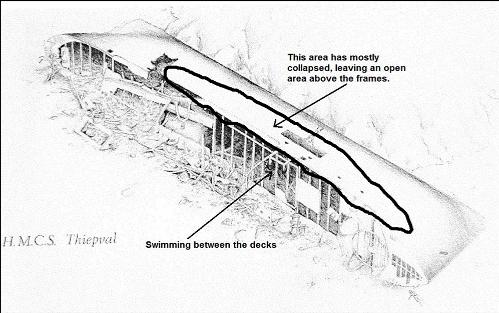
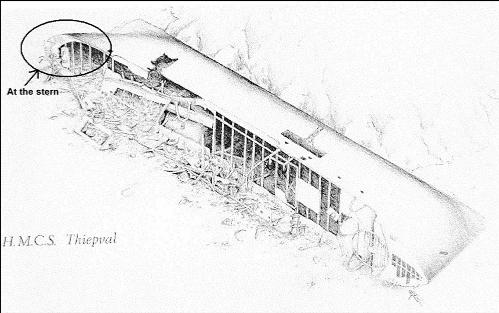
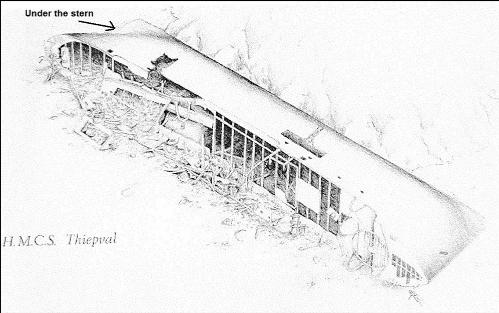
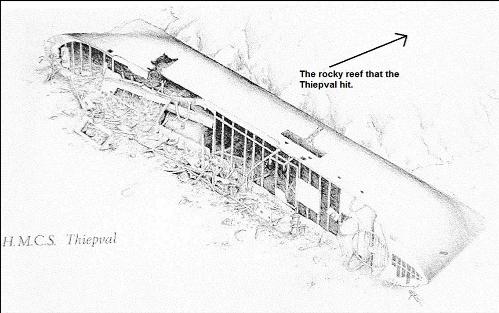
This drawing of the wreck was done by Carol Pillar for Parks Canada. I'm not sure when it was drawn, but the wreck has degraded more since then.
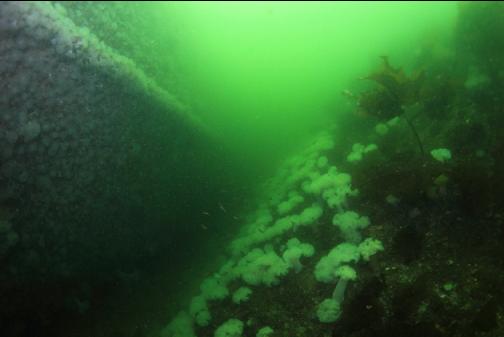
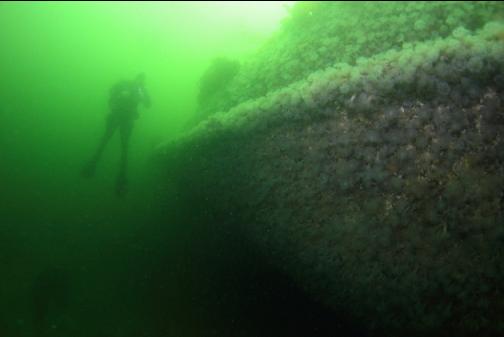
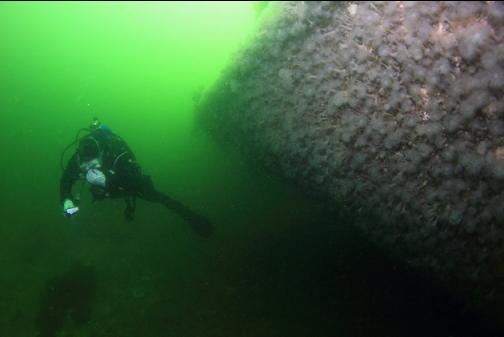
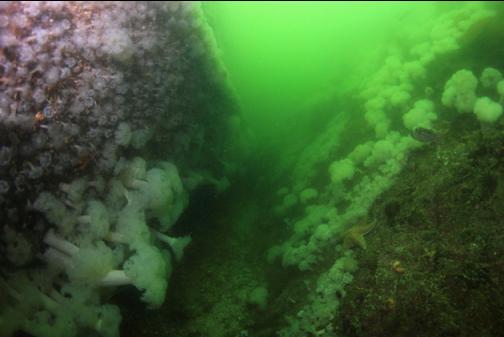
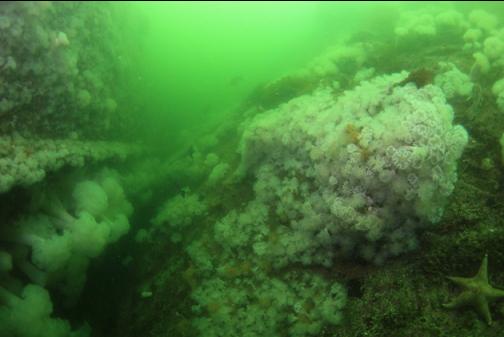
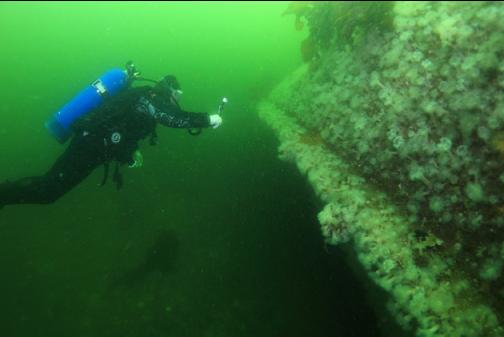
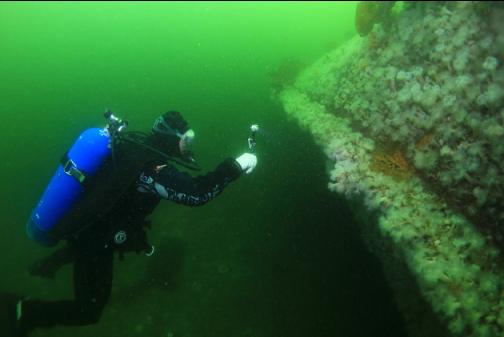
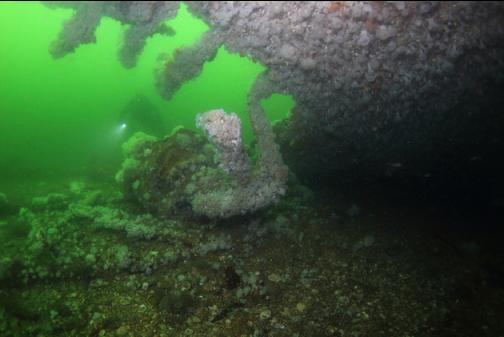
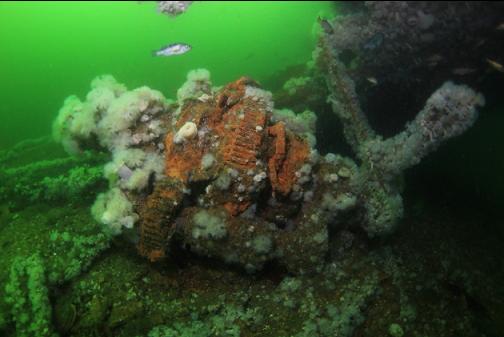
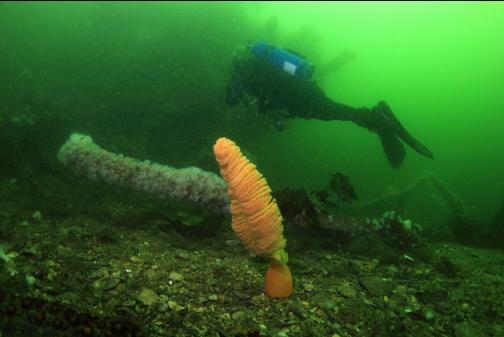
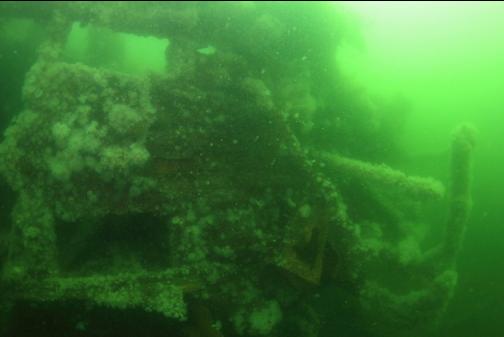
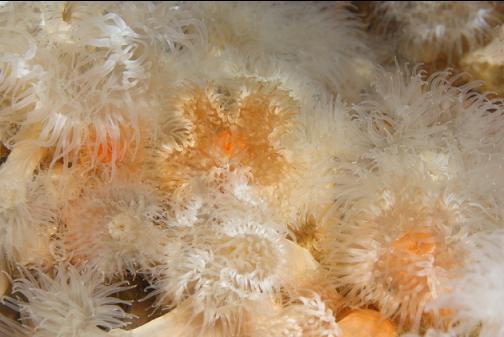
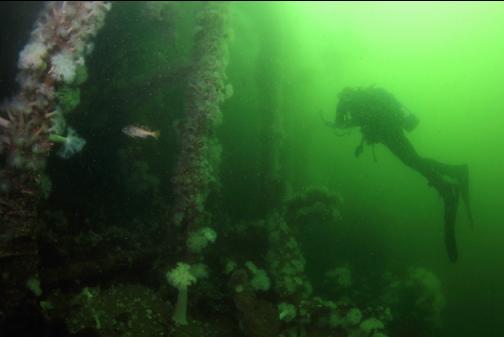
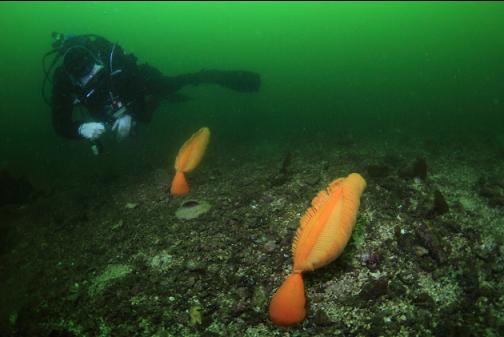
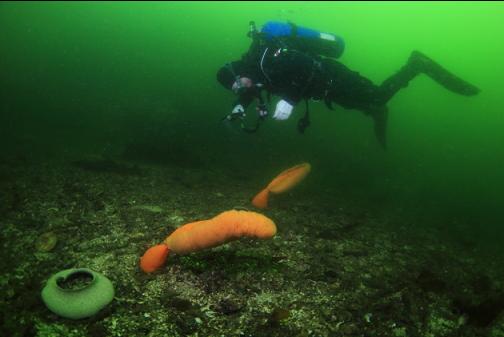
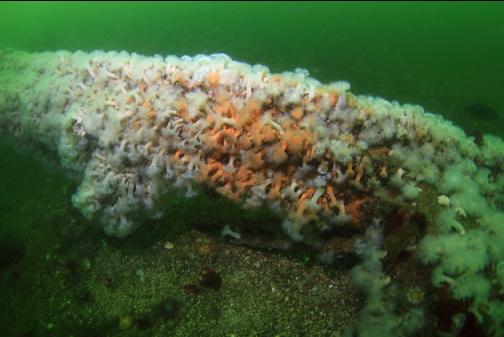
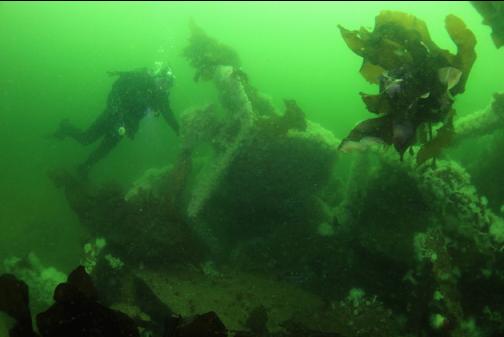
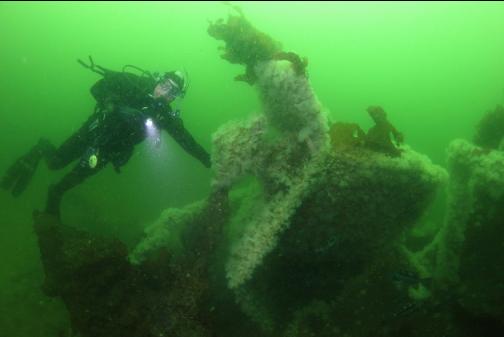
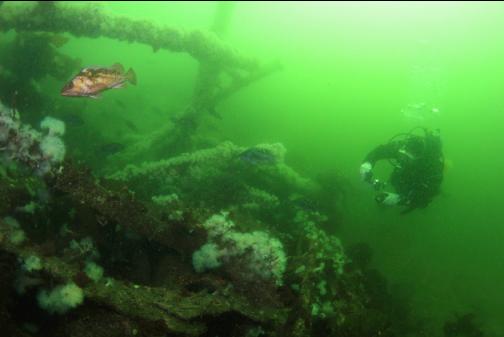
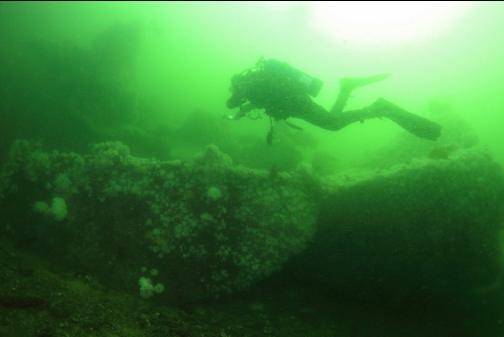
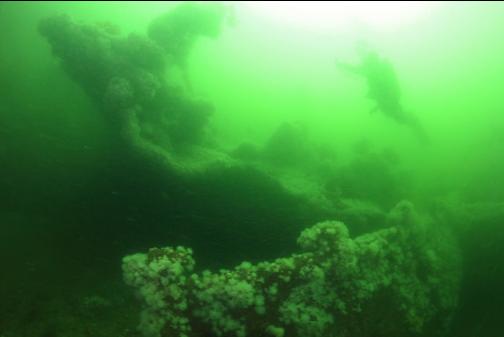
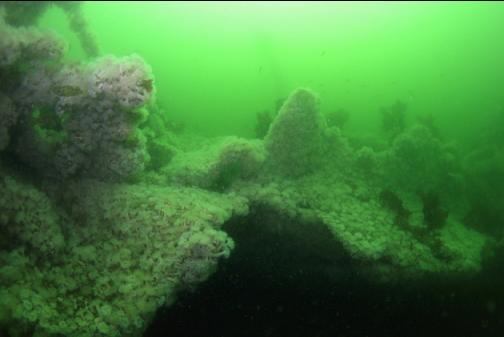
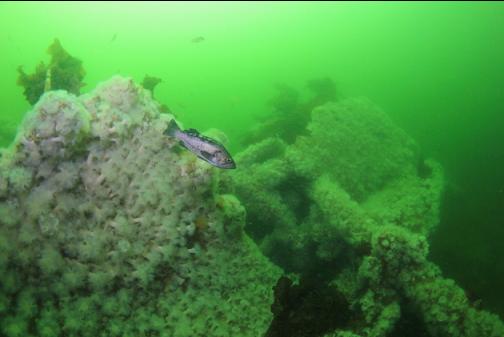
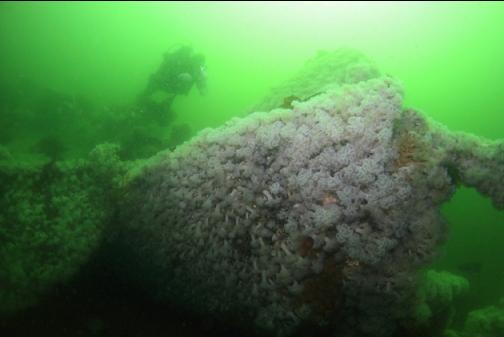
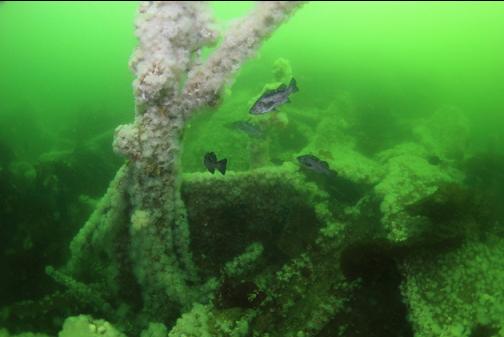
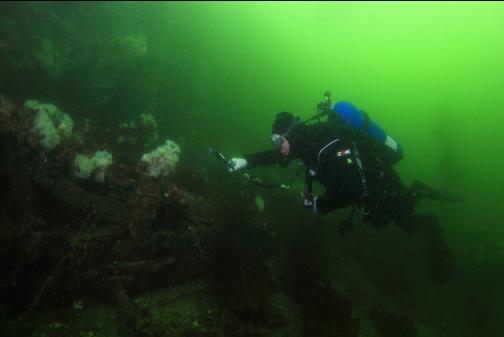
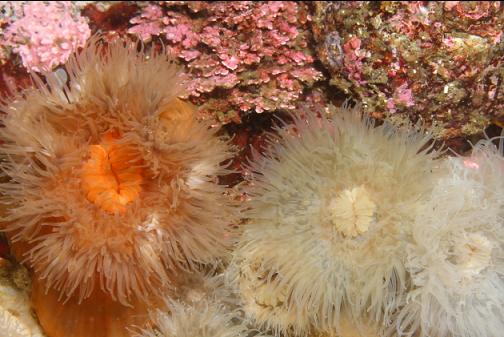
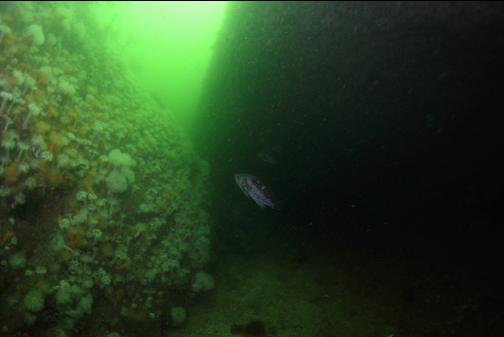
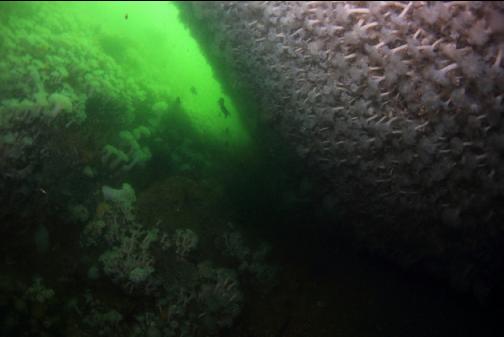
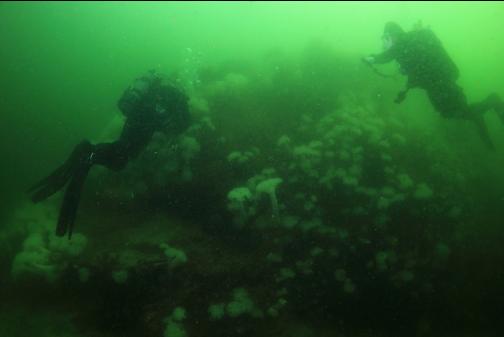
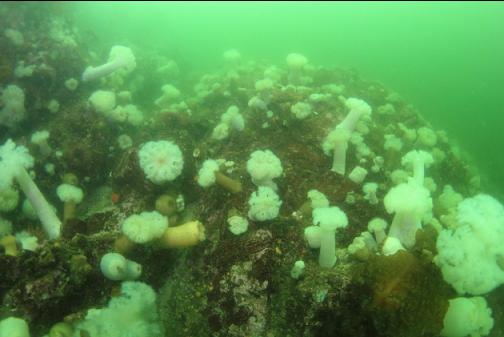
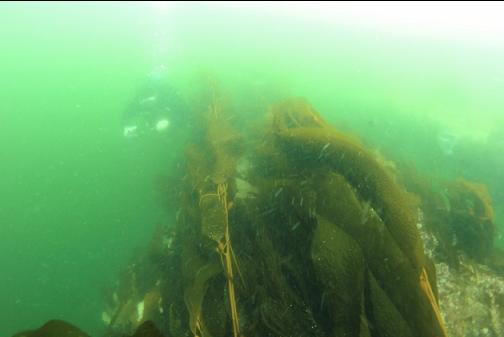
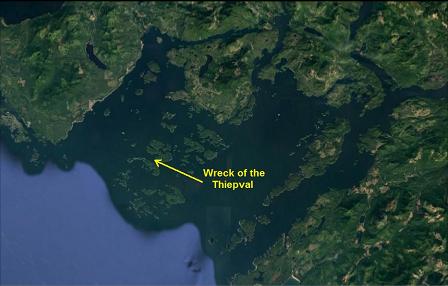
We dove here as a second dive of the day on July 16, 2016. The wreck lies on its side on a flat sand bottom 45 feet deep. We descended down the anchor line onto the side of the hull. The hull was covered with small plumose anemones and we could see the ridge of the keel. Visibility was only about 15-20' due to a plankton bloom. What used to be the bottom of the hull is now almost touching the side of the rocky reef that it hit. The current was fairly strong, maybe a knot in the areas where the ship didn't block the flow.
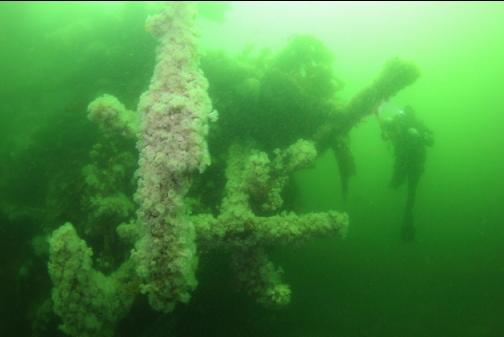
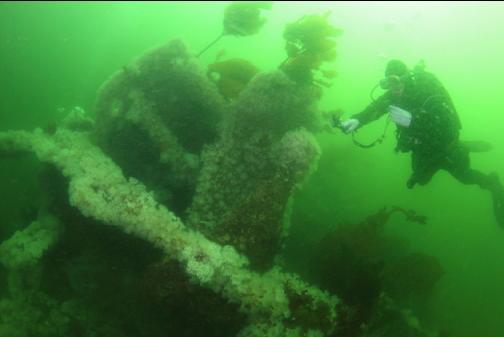
We swam under the bow, which formed a large overhang. What seemed to be the anchor capstain was lying on the bottom under it.
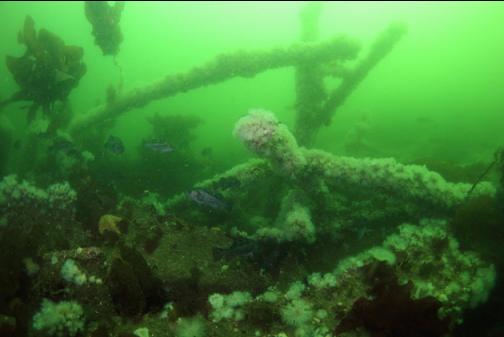
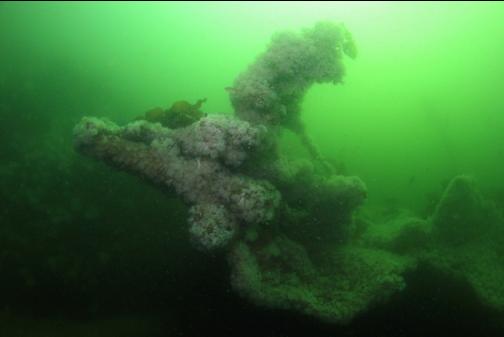
The area near the bow is now more broken up than shown in the drawing.
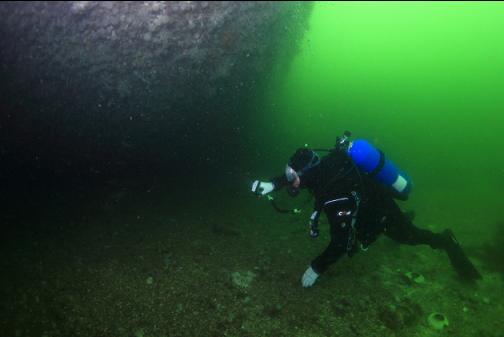
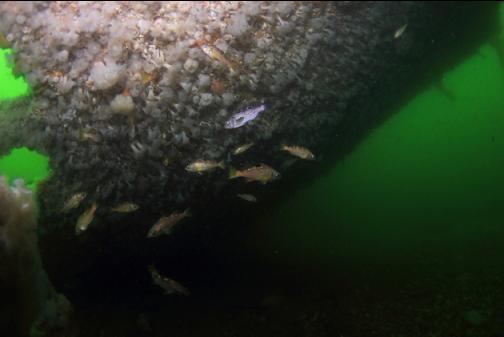
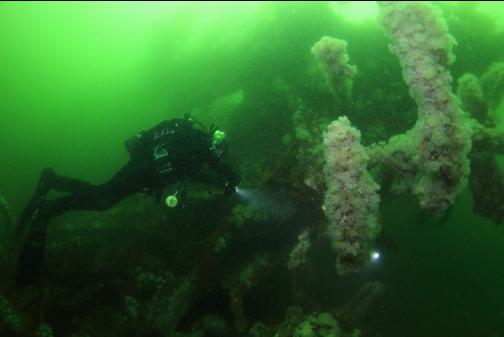
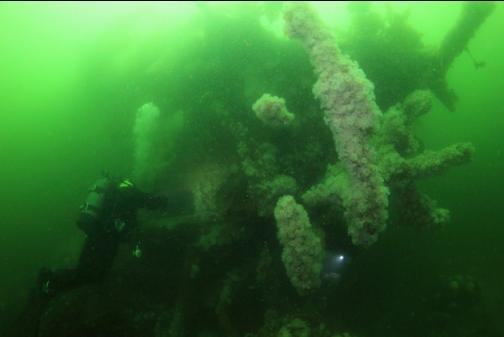
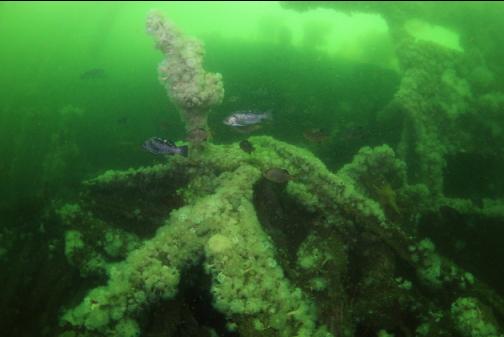
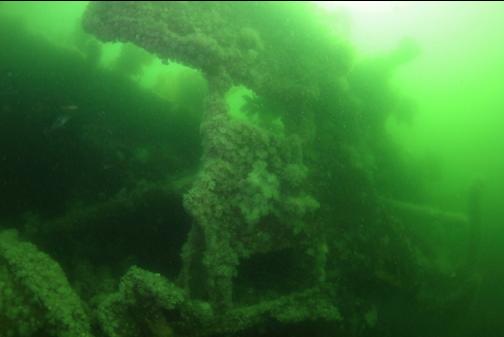
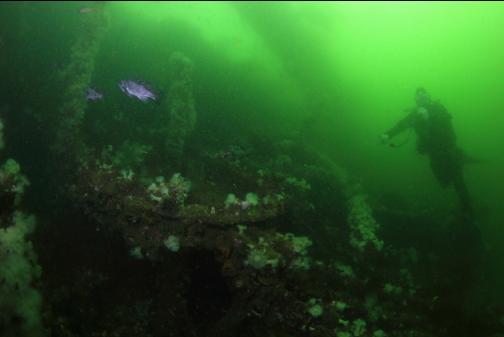
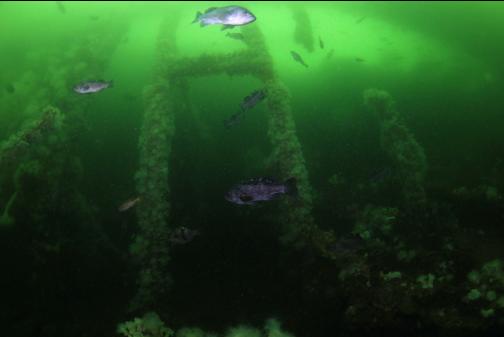
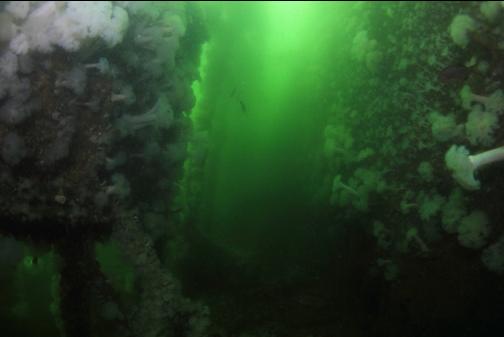
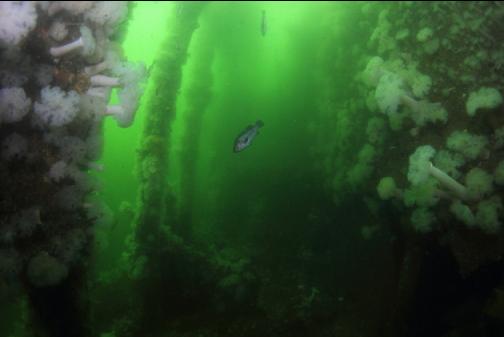
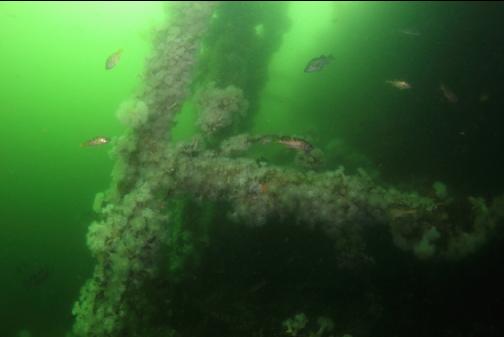
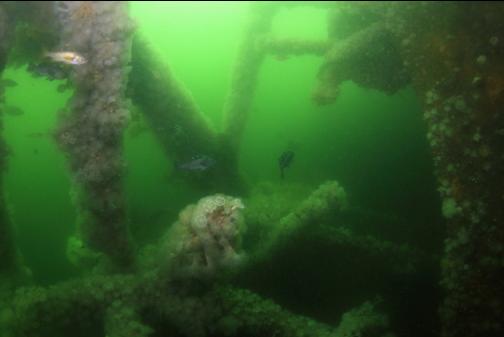
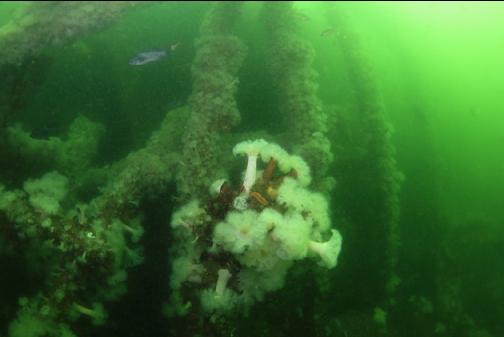
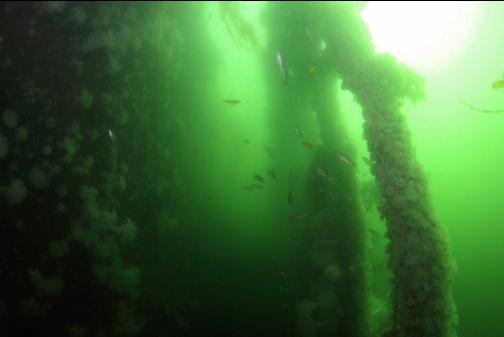
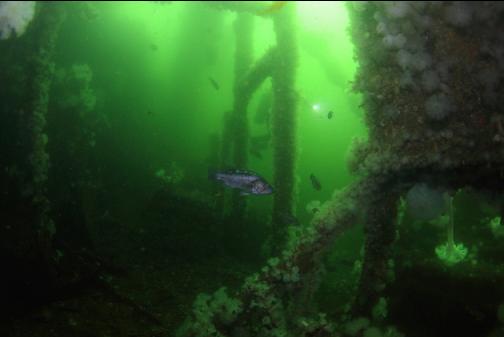
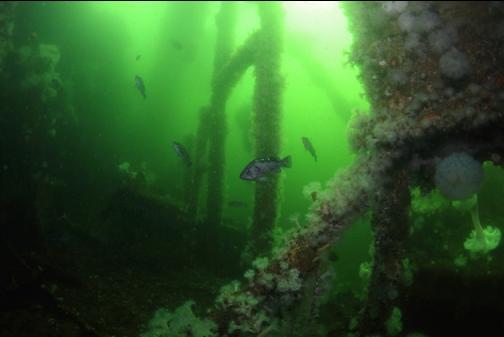
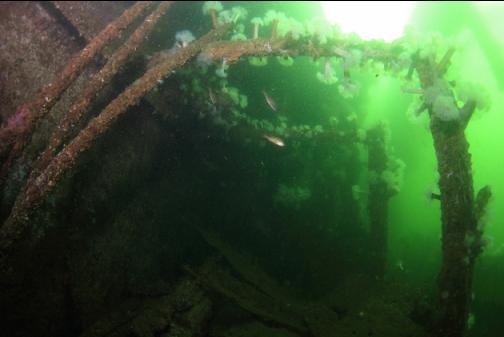
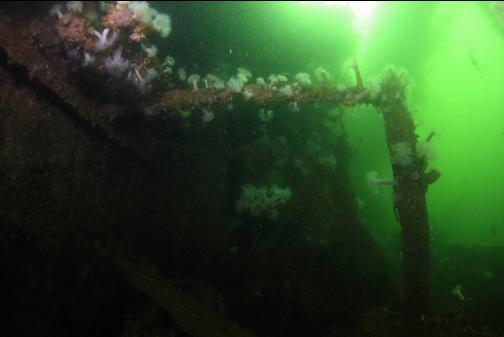
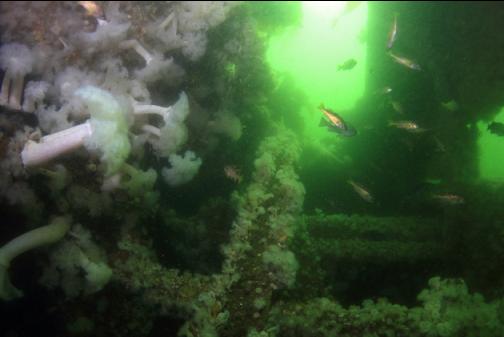
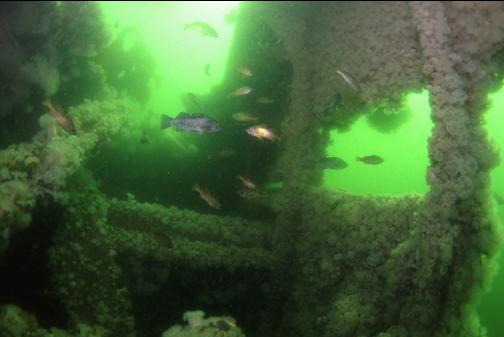
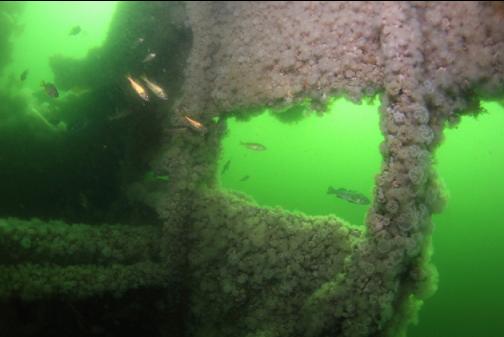
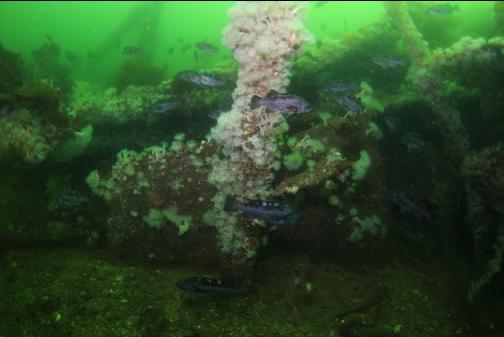
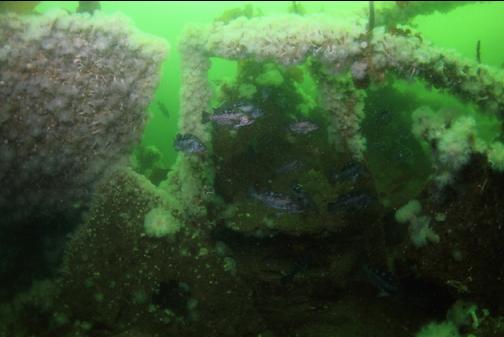
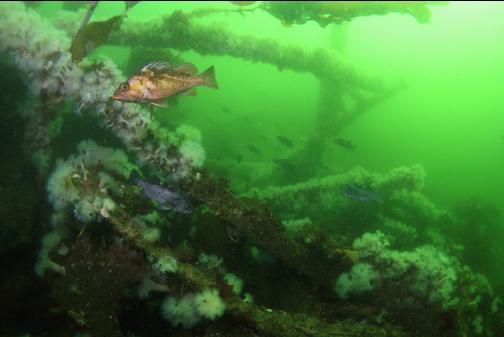
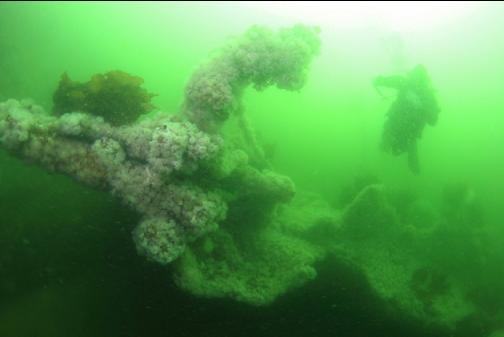
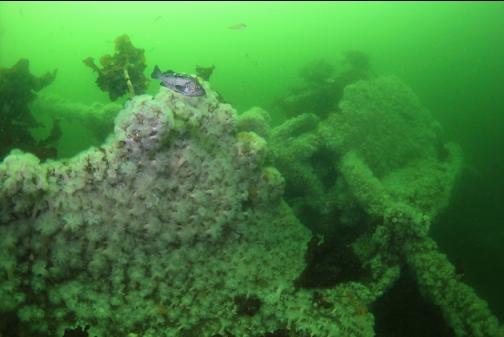
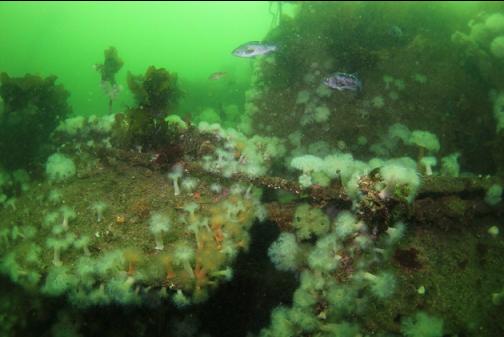
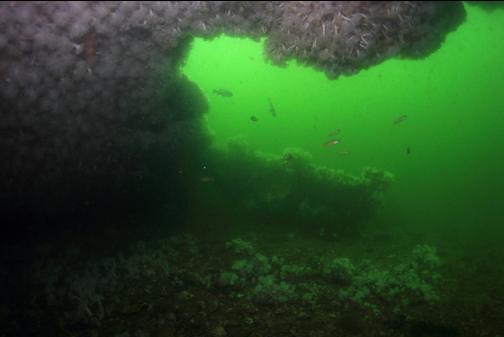
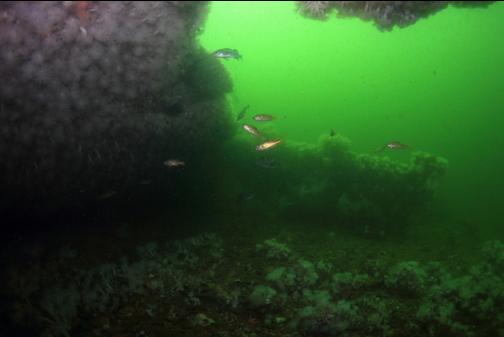
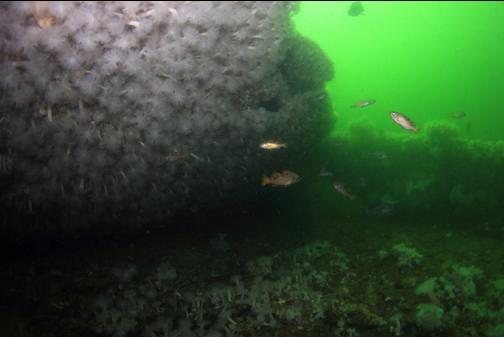
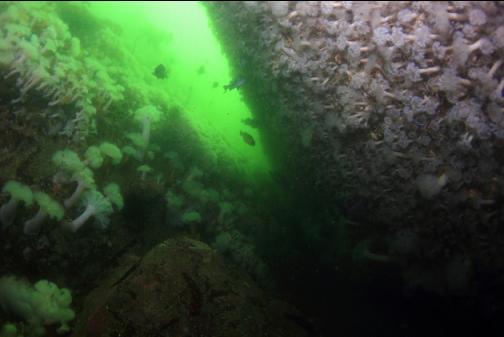
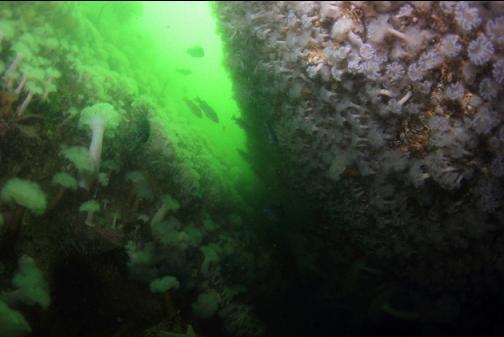
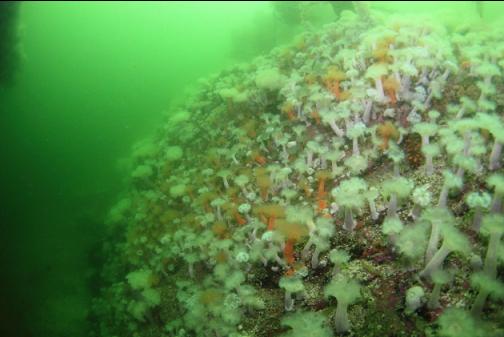
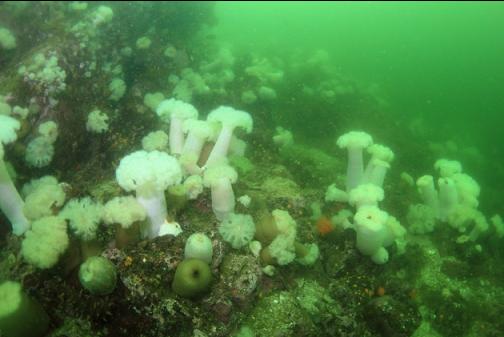
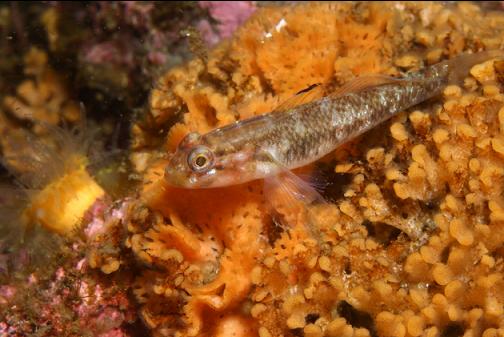
I swam through what used to be an area between decks. It is now an open passage running nearly the length of the ship lined on one side by plumose-covered pillars, which used to be the frames supporting the deck. There were lots of black rockfish hanging around the wreck.
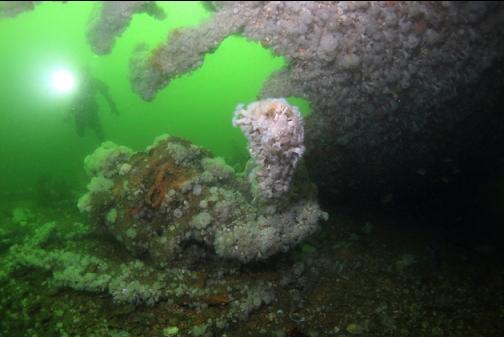
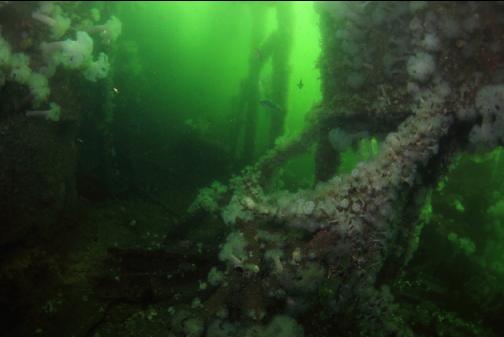
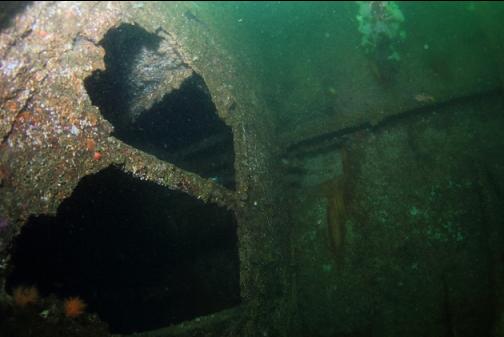
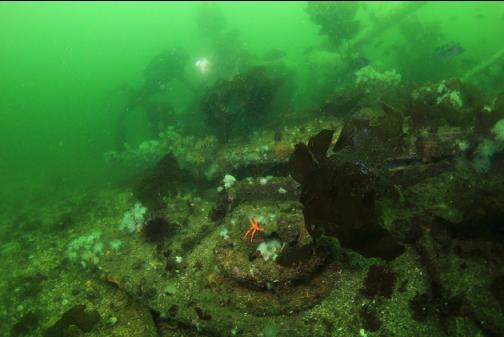
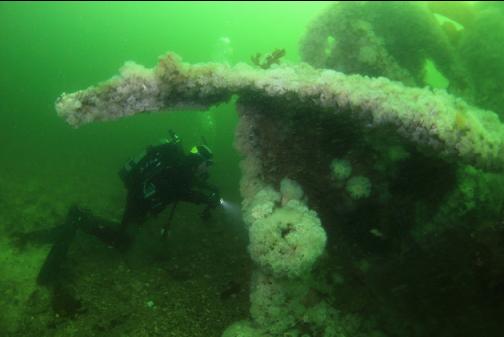
The stern area was also mostly collapsed compared to the wreck drawing. The current made it difficult to hover in one place to take pictures.
I swam under what's left of the stern under the keel.
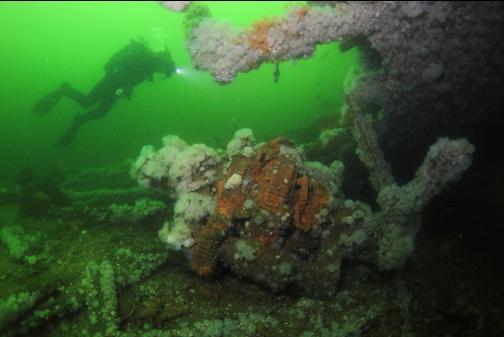
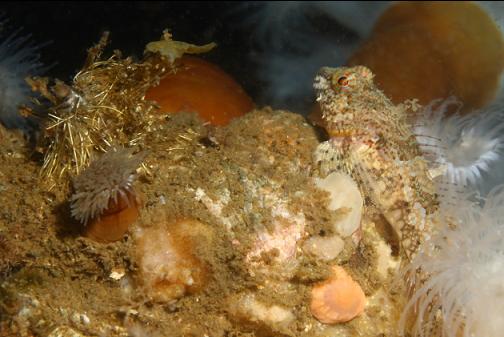
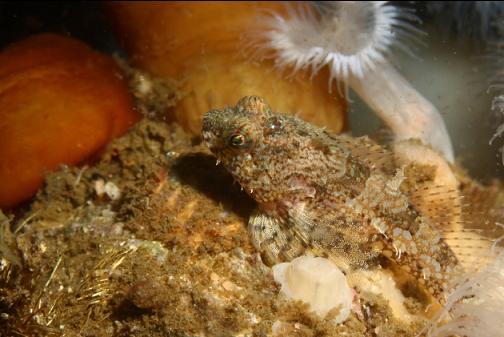
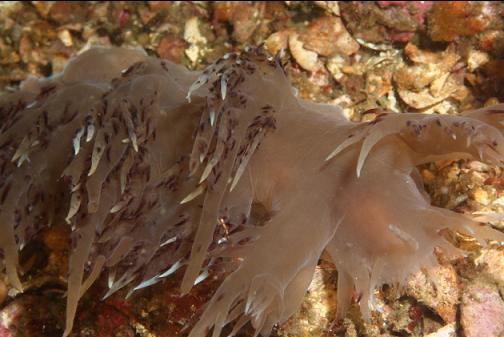
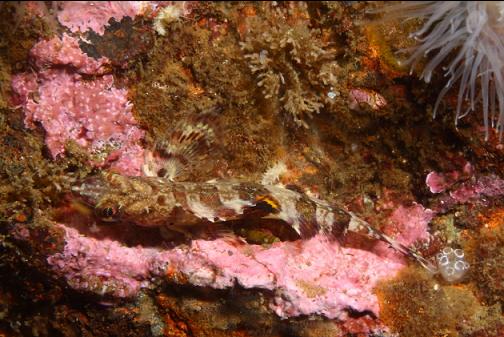
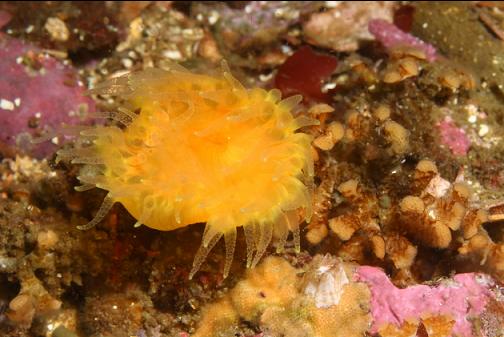
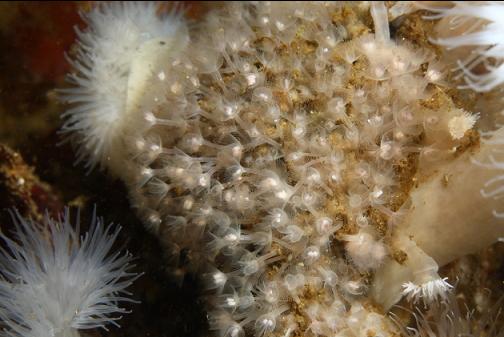
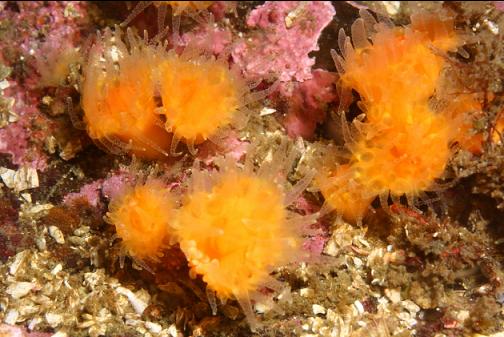
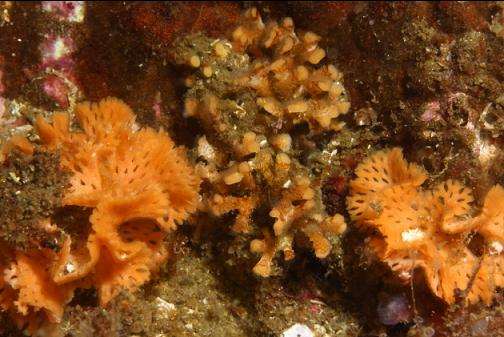
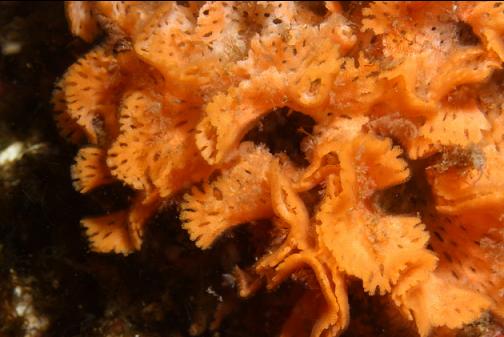
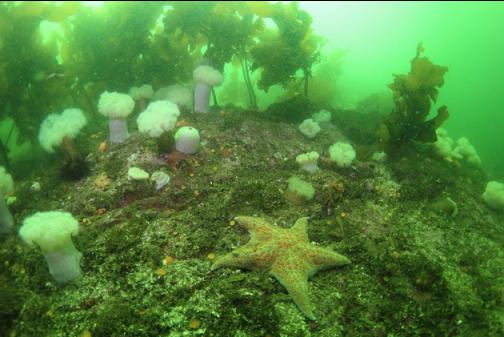
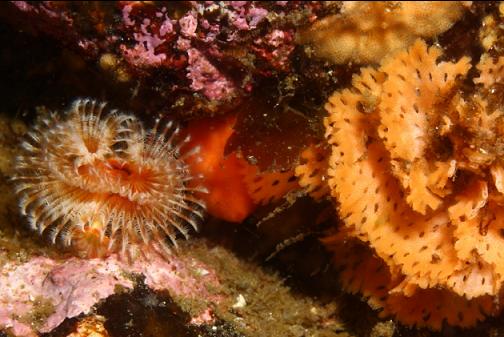
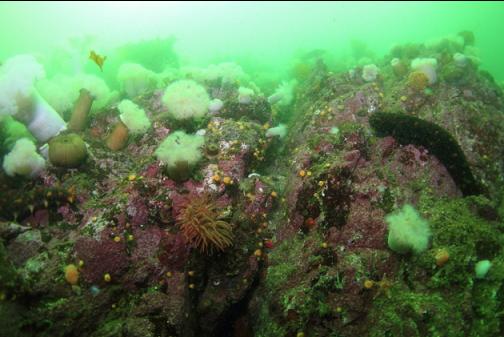
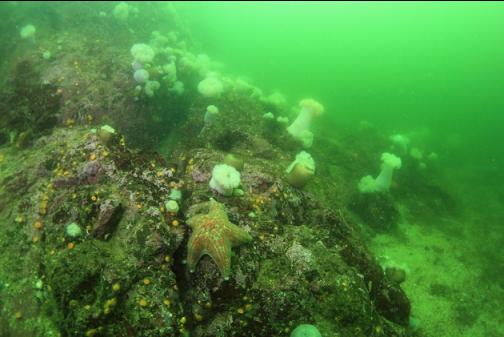
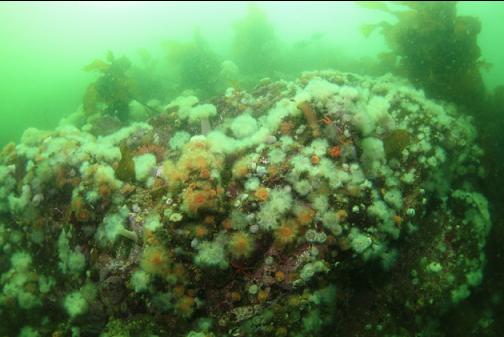
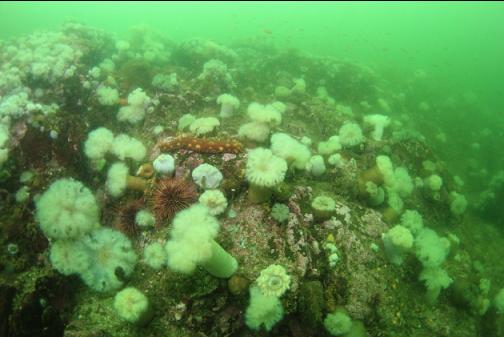
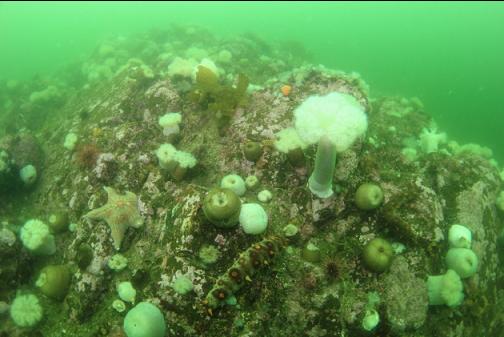
The rocky reef next to the wreck also had lots of life on it. It was mostly covered with small plumose anemones.
On the side of the wreck's hull (now facing up), there were several macrocystis kelp plants lying flat in the current.
If you're into wrecks or history, this is definitely a dive
you should try and do if you're in Barkley Sound.